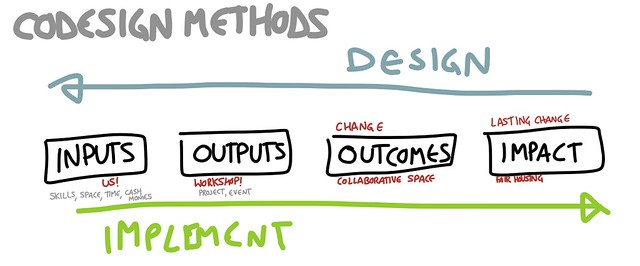
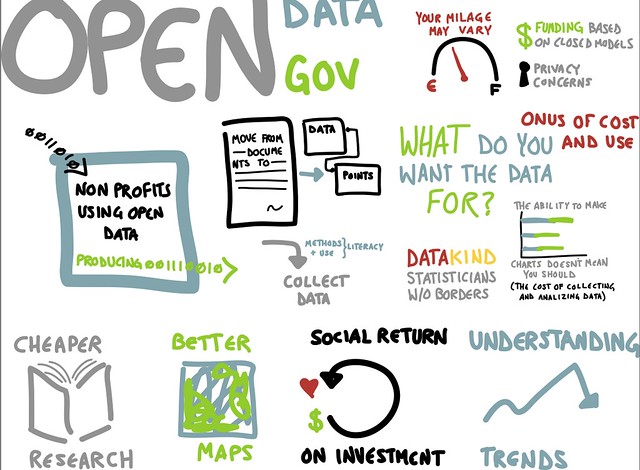
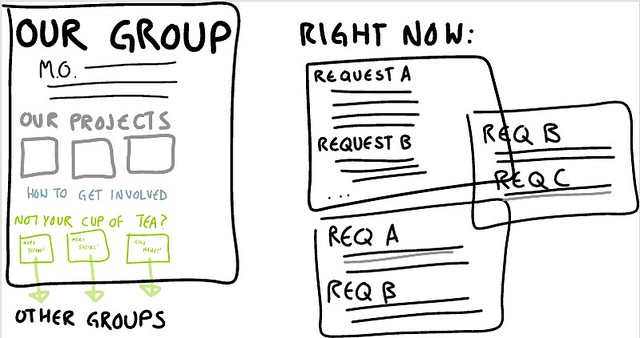
I’ve recently launched bl00viz, a way for people to hire me for my graphic facilitation and visual thinking skills. This is the third in a 3-part series. The first part covered various sorts of vizthink, and the second covered the tools used.
So, I do these live drawings while people are speaking in order to demonstrate their ideas. I started doing visual thinking in earnest when someone turned left in front of me, causing a shattered radius. Since, it’s become my primary method of note taking, and a wonderful way to augment written notes.
Animation
Now that I can record the process of drawing, it’s even more fun to show ideas develop through the process itself, rather than just the completed ideas overlaying each other. So far, I’ve figured out how to tell a story on top of a drawing, like for Galway’s Ignite:
And taken an already-done talk, drawn it, and synced back to the audio:
This takes more energy, but I’m really pleased about the storytelling style.
Collaboration
The next bit that I’m super interested in exploring is that of how to collaborate together in drawing. I’m looking forward to the next unconference I get to go to where others are willing to play with me in this space. Whether in physical space on pieces of butcher paper, or in the collaborative editing capabilities of Prezi, I can’t wait to further explore this space. SO EXCITED.
Cohort and fellow Berkmanite Primavera showed me the Kopfschlag project, a persistent, collaborative, online drawing tool. You can play at the link, but here’s a time-lapse:
Kopfschlag from kopfschlag on Vimeo.
In the same way people have taken quickly to collaborative document editing, I see those of us who are visual thinkers sharing drawing space to express ideas in new ways.